
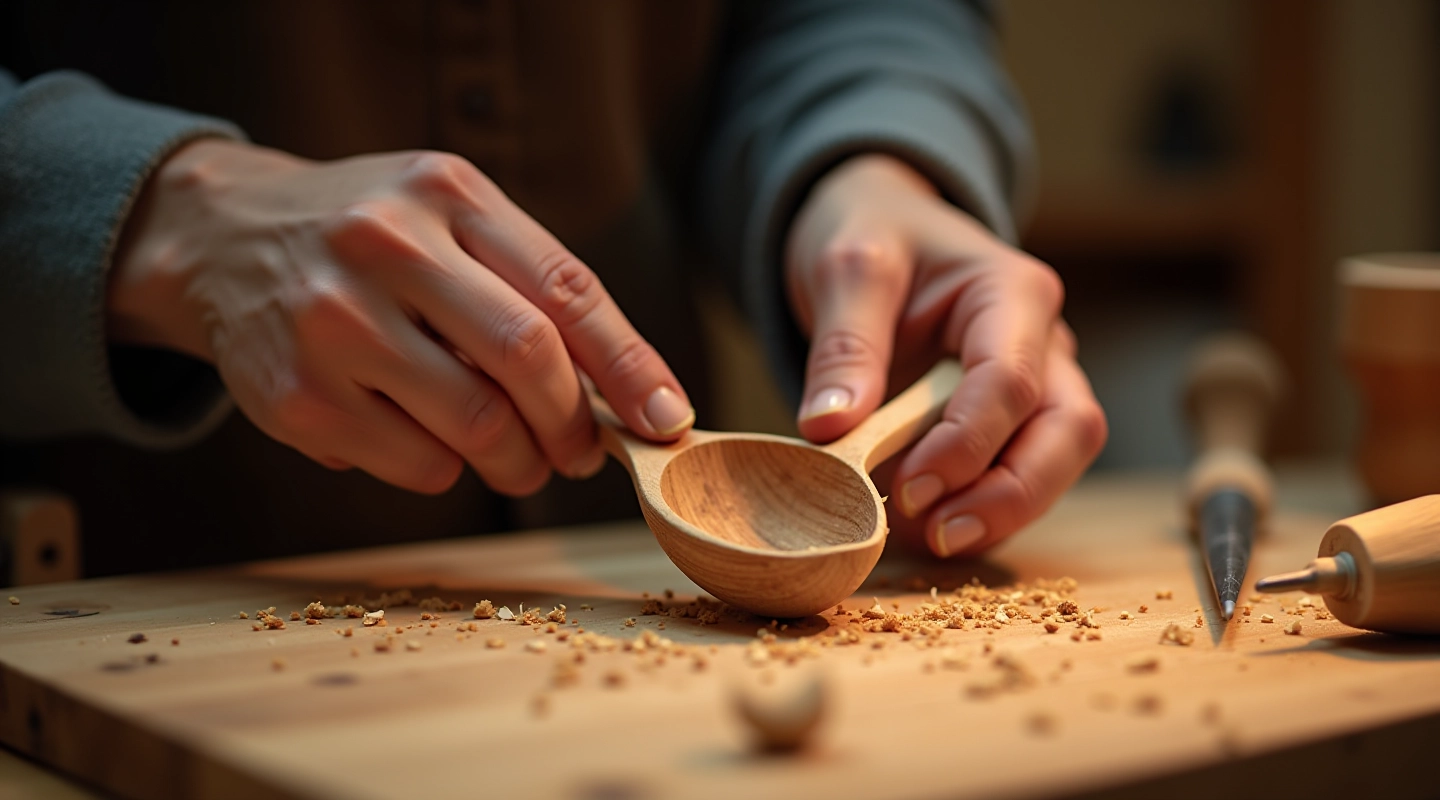
How to Carve Your First Spoon in a Weekend
Step-by-step instructions for creating a functional Latvian spoon. We cover tool selection, carving technique, and finishing.
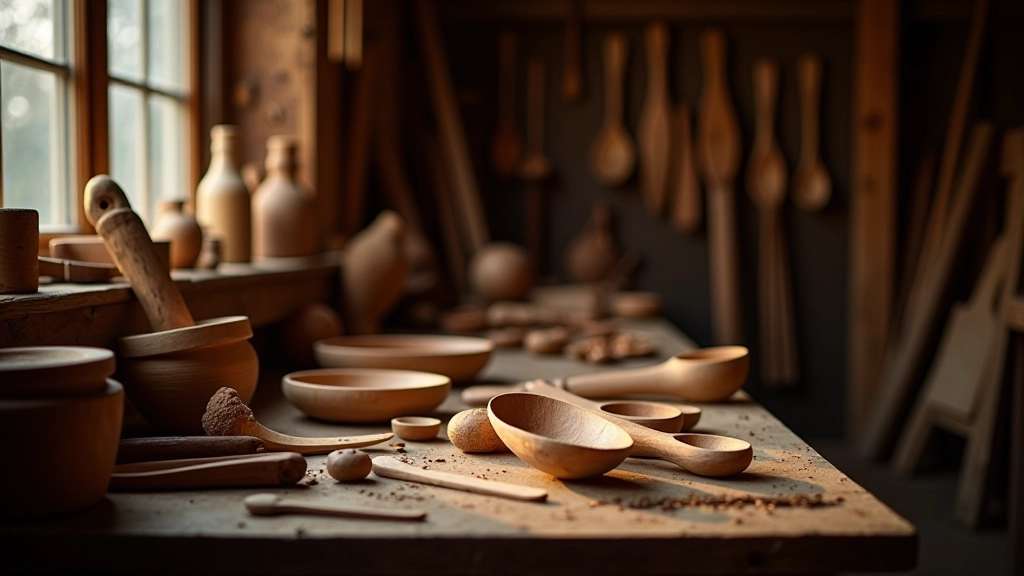
We've seen them all. Grain direction mishaps, tool pressure problems, and wood selection errors. Here's what'll actually help.
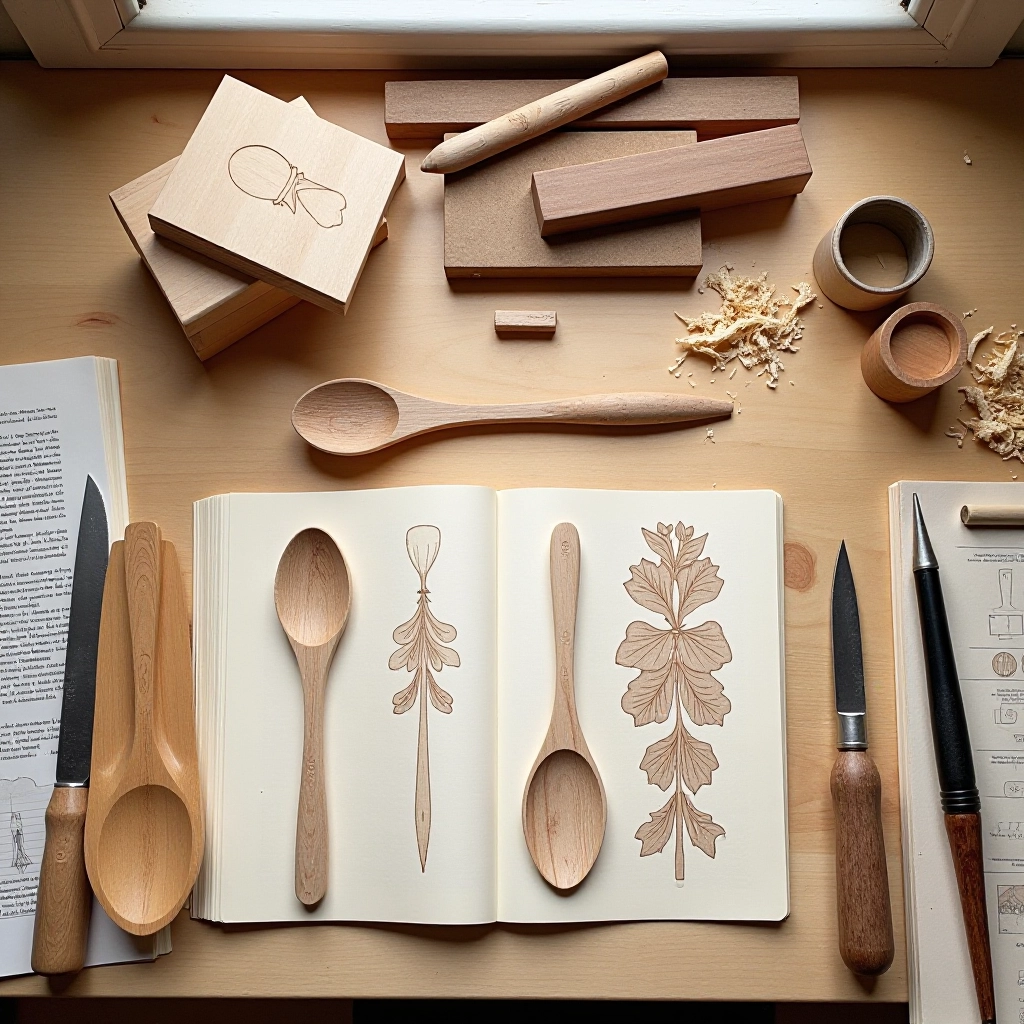
Editorial Team
Written by the zephshoreīga Woodcarving editorial team, focused on clear, honest guidance for beginning woodcarvers.
The biggest mistake we see? Carving against the grain. You're fighting the wood instead of working with it. Grain runs in one direction — imagine tiny fibers all pointing the same way. When you carve with the grain, the tool glides. Against it? The wood splinters and tears.
Here's the practical part: look at your wood block. You'll see lines running across it. That's your grain. Run your hand along it one direction — it feels smooth. Reverse direction and it catches slightly. That's the tell. Always carve downward toward those grain lines, not into them.
Most beginners spend 15-20 minutes fighting a single detail because they're carving uphill. Flip your approach and that same detail takes 3 minutes.
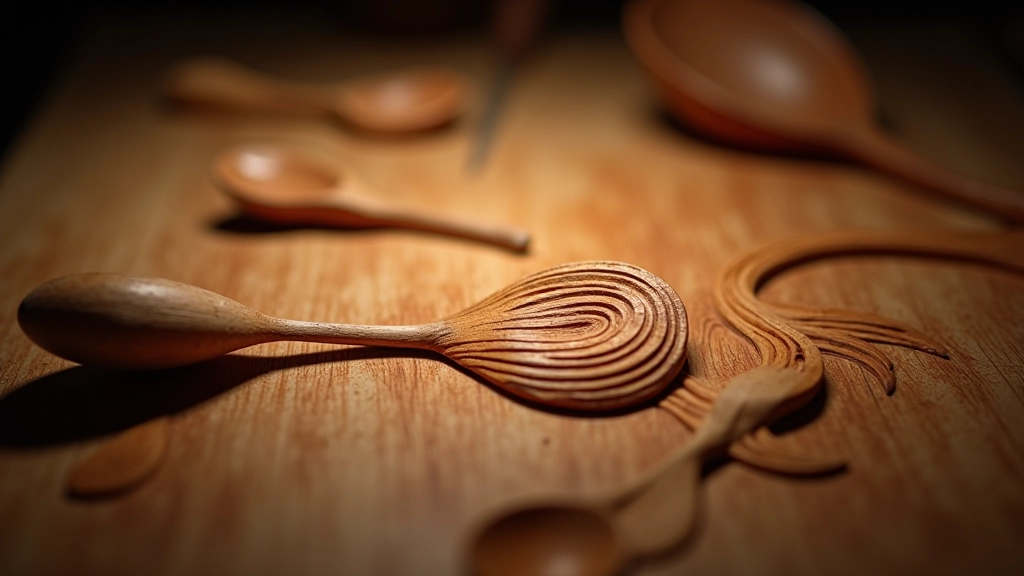
Softer woods (basswood, linden) forgive mistakes. Harder woods (oak, walnut) demand precision. Start soft, build skills, then graduate to harder materials.
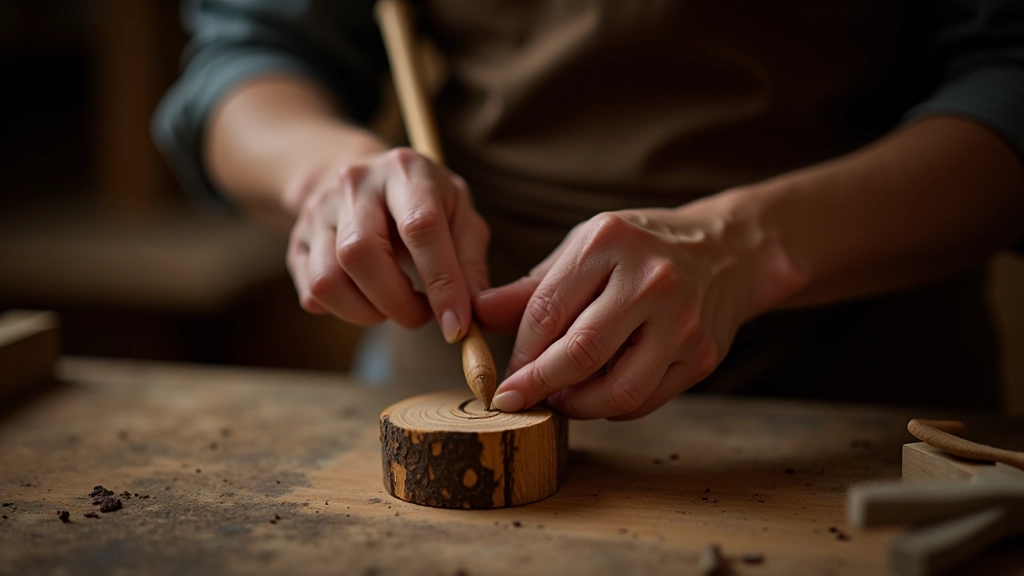
Beginners press too hard. We get it — you want results fast. But here's the reality: excessive force causes blade chattering, creates rough surfaces, and kills precision. The tool does the work. You just guide it.
Think of it like writing with a pen. Light pressure, controlled movements, the pen does what you want. Press hard and the line gets thick and ugly. Same principle with carving. A sharp gouge with light, deliberate pressure removes wood cleanly. You should feel like you're directing the blade, not forcing it.
Start with 30% of the force you think you need. Seriously. Most people work at 70-80% pressure when 20-30% is plenty. Your wrists stay fresher, your cuts are cleaner, and you'll carve for hours instead of getting exhausted after 20 minutes.
Explore related guides to deepen your carving skills
Step-by-step instructions for creating a functional Latvian spoon. We cover tool selection, carving technique, and finishing.
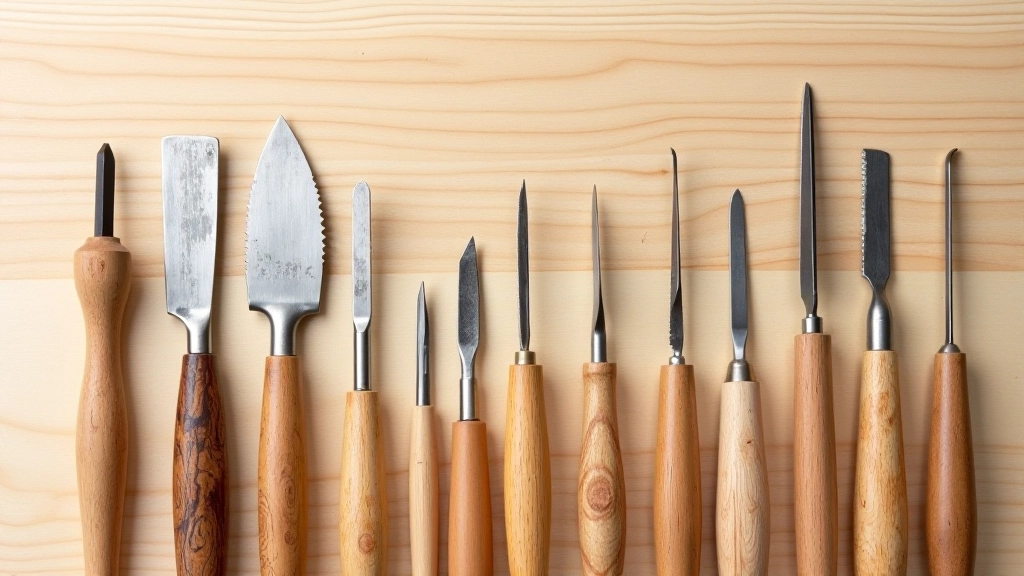
Not all carving tools are the same. We break down gouge sizes, blade shapes, and which tools you actually need to start.
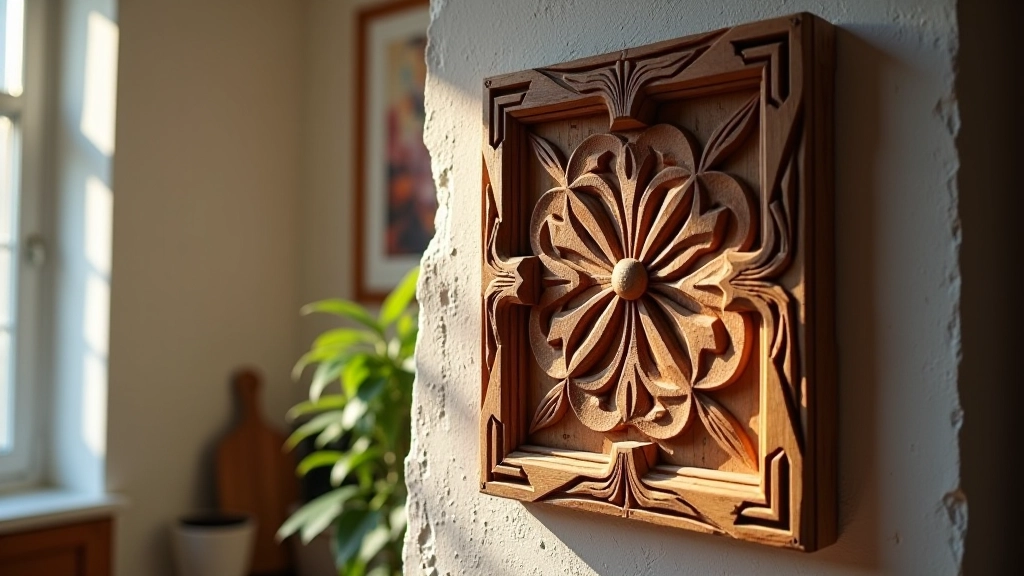
These patterns aren't random. Each symbol has meaning. Learn the basics of traditional designs and how to incorporate them.
Starting with hardwood oak? That's mistake number three. You're setting yourself up for frustration. Beginners need wood that's forgiving — wood that lets them learn without fighting every step.
Basswood and linden are the gold standard for learning. They're soft, consistent, and don't have wild grain patterns that'll ambush you. A piece of quality basswood costs a few euros and won't leave you discouraged after your first session. Save the exotic hardwoods for when you've done 20-30 projects and actually understand wood behavior.
Also check moisture. Wood that's too dry cracks. Too wet and it won't hold detail. You want wood at 8-12% moisture content — that's the sweet spot. If you're buying from a reputable supplier, it's already there. DIY harvesting? That's a separate skill you don't need right now.
Ask your supplier: "Is this 8-12% moisture?" They'll know. If they don't stock pre-dried wood, find another supplier. This matters.
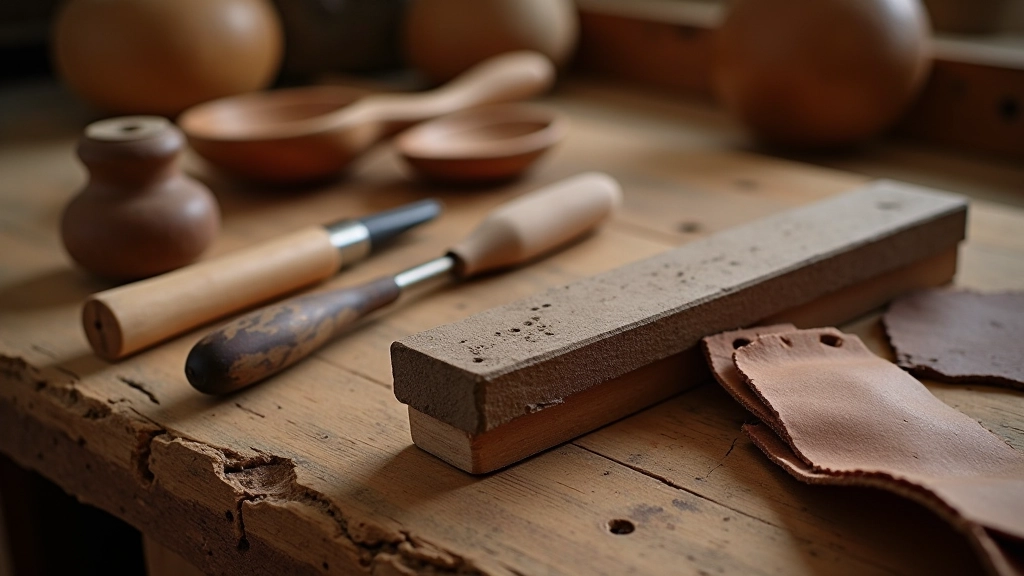
A dull blade ruins everything. It's that simple. You'll think you're bad at carving when really you're just fighting a dull tool. Sharp tools make good carvers look great. Dull tools make great carvers look terrible.
Sharpen before every session. Takes 2 minutes if you have a proper sharpening stone or strop. Yes, every session. Not weekly. Not when it "seems dull." Every single time. This habit alone will improve your work more than anything else.
You'll know when a blade needs sharpening — it stops gliding through the wood and starts chattering. At that point you've already lost an hour to frustration. Better to sharpen at the start, do perfect work, and feel like a carver instead of a hack.
This guide is informational and based on common beginner experiences. Woodcarving involves sharp tools and requires attention to safety. Always follow tool manufacturer safety guidelines, wear appropriate protective equipment, and consider hands-on instruction from experienced carvers. Individual results vary based on materials, skill level, and practice. This content is educational and doesn't replace professional training or mentorship.
You don't need natural talent or expensive gear. You need soft wood, sharp tools, light pressure, and an understanding of grain direction. That's it. Those four things will carry you through your first 50 projects.
The mistakes we've covered? They're not character flaws. They're just common patterns that every beginner cycles through. Knowing them in advance saves you months of frustration. You'll still make mistakes — that's how you learn — but you won't repeat the foundational ones that waste time and break confidence.
Start with a simple project. A small spoon. A simple relief. Something you can finish in a weekend. Use it to practice grain reading and pressure control. Then do another one. And another. By project five you'll feel like a real carver. By project ten you'll start getting picky about details. That's exactly how it should work.